How To
SafeHandle Installation Guide: 60 Seconds, No Tools
SafeHandle installation is genuinely simple, but a few small details affect whether your installation lasts ten years or comes off in a week. Here's the full guide.
What you need
You need exactly two things: the SafeHandle (which comes assembled or in two parts depending on your pack), and isopropyl alcohol (rubbing alcohol from any drug store) plus a clean cloth. That's it. No tools. No drill. No replacement parts.
Step 1: Pick your spot on the lid
The optimal location is the front-center area of the lid, roughly 2-3 inches from the front edge. This positions the handle where your hand naturally reaches, gives the lid maximum leverage when pushed, and keeps the SafeHandle visually centered on most lid designs.
Avoid: the very edge of the lid (less stable bonding), areas near hinges (the lid flexes most here), and any area with dirt, grease, or a previous adhesive residue.
Step 2: Clean the surface thoroughly
This is the step that most installations get wrong. The lid surface needs to be both clean AND oil-free. Regular kitchen cleaners leave behind a slight film that interferes with adhesion.
The right procedure: wipe the area with isopropyl alcohol on a clean cloth. The alcohol evaporates completely and leaves no residue. Wait 30-60 seconds for the surface to fully dry.
If your lid has been used in a kitchen for years and has accumulated cooking grease, you may need to do this twice with a clean cloth side each time.
Step 3: Peel the backing
The SafeHandle base has a peel-off paper backing protecting the adhesive. Peel it off completely. Be careful not to touch the exposed adhesive surface — your finger oil reduces bonding.
Step 4: Press firmly for 30 seconds
Position the base on the cleaned spot and press down firmly with your full hand weight. Hold for 30 seconds. Don't tap, don't flex — just steady pressure.
This is the second most-commonly-missed step. People press for 5 seconds and walk away, then are surprised when the SafeHandle pops off two days later. The adhesive needs sustained pressure during the initial bond to make full surface contact.
Step 5: Screw on the rod
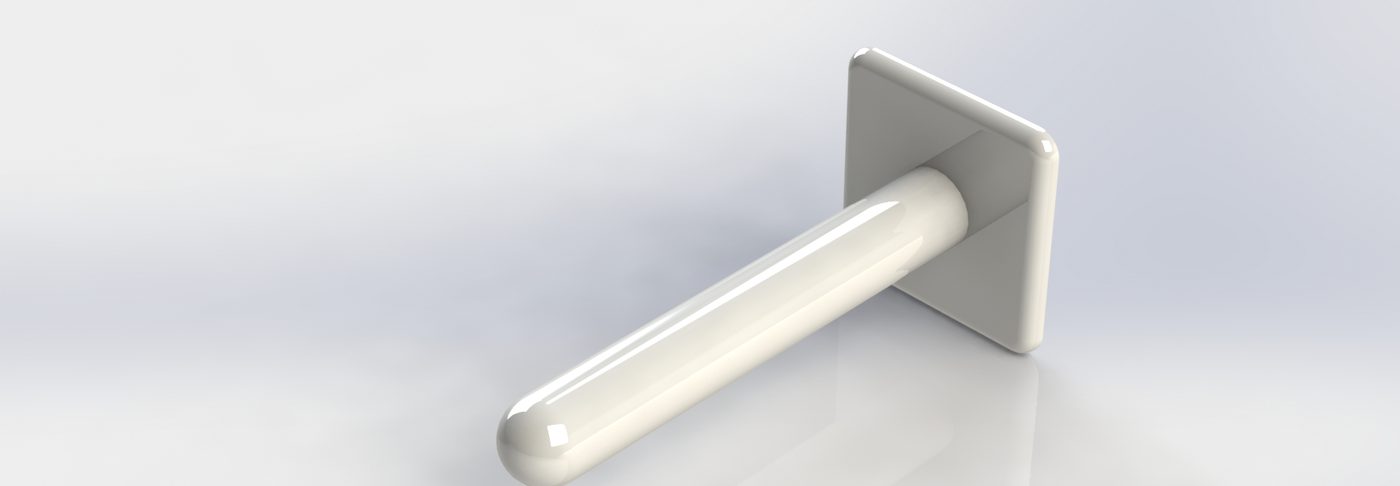
If your SafeHandle came as a pre-assembled unit, skip this step. If it came in two parts, screw the yellow-tipped rod into the threaded socket on the base. Hand-tight only — no tools needed.
Step 6: Wait 24 hours before heavy use
The adhesive reaches initial bond strength quickly but full cure strength over 24 hours. For the first day, use the SafeHandle gently — a soft push rather than a hard shove. After 24 hours, full force is fine.
Common installation issues
Adhesive doesn't stick on the first try. Almost always a surface preparation issue. Re-clean with alcohol, ensure the lid is completely dry, retry with the same SafeHandle (the adhesive is still good as long as it didn't get contaminated).
Lid is textured or rough. Not all lid surfaces are smooth. For textured plastic lids, the adhesive bonds slightly less aggressively but still holds. Apply extra firm pressure for 60 seconds (instead of 30) to ensure full contact.
Lid is wet or recently washed. Wait until the lid is completely dry — visibly and to the touch. Surface moisture defeats the adhesive.
Lid is curved or uneven. The SafeHandle base is roughly 2 inches square and slightly flexible, so it accommodates gentle curves. For aggressively curved lids (pinched or domed), choose a flatter spot to install.
Cold lid. Adhesives bond poorly below 65°F. If you're installing in winter on a lid that's been in a cold garage, bring it inside and let it warm to room temperature first.
How long it lasts
Properly installed SafeHandles in commercial restaurant settings have lasted 2+ years and counting with no failures. Home installations should last significantly longer because home use is much gentler. We expect normal home installations to outlast the trash can itself in most cases.
If for any reason your SafeHandle does come off within 30 days, contact us and we'll send a replacement. Beyond 30 days, the issue is almost always recoverable with a fresh installation following the steps above.
Ready to stop touching your trash can lid?
Preorder SafeHandle — From $16.95Read next: SafeHandle vs. Touchless vs. Pedal: Which Solution Actually Works · Trash Can Slip-and-Fall Hazards: The Hidden Liability for Businesses · More about our product